How to Mount your work
It is so important to mount embroidery work correctly. It can make a vast difference to how the embroidery can look and after putting so much effort into creating a work of art its a shame not to put that last bit of energy in. Trust me it can make all the difference. If you mount it correctly it will last a lifetime.


You can use a commercially bought frame but make sure its a box frame as you don’t want your embroidery to touch the glass. When you use a box frame you need to make sure that you have enough depth for your foam board, wadding and your piece of embroidery.
Materials required.
Scissors
Steel rule and set square.
Cutting board
Cutting knife
Pins with a glass head
Foam board
Wadding
Circular needle
Strong thread (you shouldn't be able to break this thread if pulled)

Foam board is used as the base to mount your piece around. a piece of fine cotton wadding is used as an inner layer. This helps to support the embroidery and stops it looking too flat on the board. The wadding I would recommend would be quilters dream cotton select. You can obtain this from Empress Mills at www.empressmills.co.uk . If this is too creamy in colour for your work then they also supply a wadding called quilters dream which is whiter. The wadding is personal and if you wanted to use a thicker wadding then please don’t let me stop you. But remember the thicker the wadding you will need to adjust the size of the foam board accordingly. All measurements given below are allowing for the wadding that I recommend, the quilters dream.

Preparing your embroidery
Remove the embroidered work from its frame if it was in one and place the mount board in the middle of the work. Cut off any access fabric


Now press the embroidered piece. Press from the back and use a water spray. Make sure all items are water resistant before you do so. Never press your actual stitches. Steam the back of the work and have a lint free soft blanket or a towel underneath, this is so the embroidery stitches can “lift’ as they have something to expand into.

The Start of mounting your work
Cut the wadding, using the pre-cut mount board as a guide. This should be smaller than you finished embroidered piece. There should be about 5cm around the board as a minimum.


Mark the centre lines at the edge of your embroidered piece, top, bottom and sides, using a water soluble pen.

Mounting the Embroidery
Now start putting all the pieces together. Matching the lines up as a guide to make sure your piece is centralised. Do all this with the work facing downwards, again woking on a soft clean service.

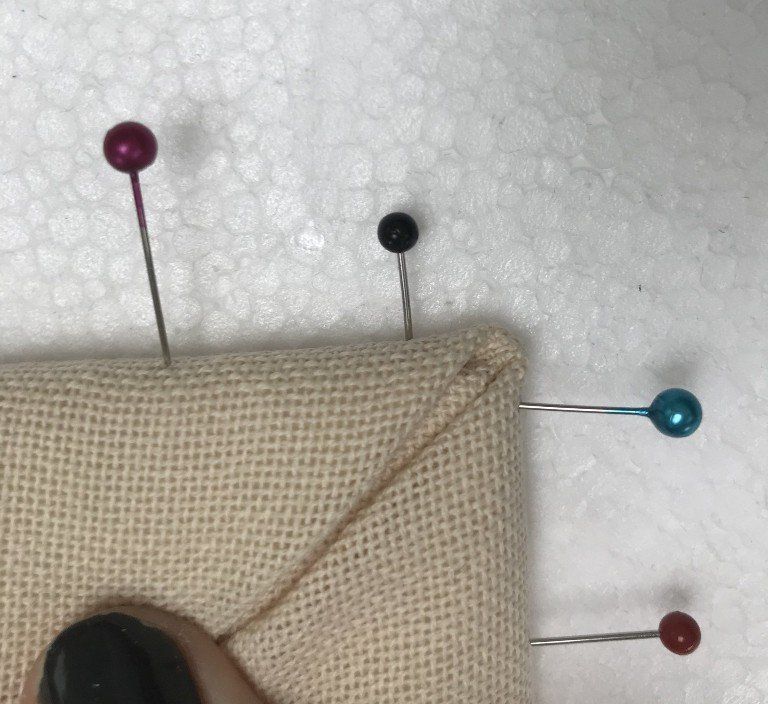
Now insert the pins into the mount board. start at the top and as you pin one side do the opposite. Pull the fabrics so there is a little tension. Make sure the grain of the fabric is running correctly. ie parallel to the edge of the board.

When you have four pins in place, top, bottom and the sides. Turn the piece over and check the design is correctly positioned.

Have one final check that there are no threads showing through where you don’t want them to be and the piece of work is int he correct position. If you are using a mount place it over the work to check its all in the correct place.
Now turn the work over to the back and cut off the corners of the wadding as shown, this is to make sure your corners do not become too bulky. Throw away the corners of the wadding.

If you want to glue the wadding to the board this is the time to do it. I never do but I know some of my students do prefer to do so. Make sure that you use as little as glue as possible and it has completely dried before you start lacing the back of the work.

Now pin around all the work, mitring the corners as you go. Pin opposite areas at a time, place about 5 pins on one side then the opposite side. Keep going until the whole board is filled with pins. Check the grain line and the tension frequently as you go along. Work with the embroidery facing downwards.


When mitring the corner fold the main fabric at 45 degrees as shown. Then fold the fabric over and pin the edge holding the fabric in place. You can put an extra pin into the edge if it helps.


When you have finished pinning your piece should look like the picture below.

This is the time to check your design is correctly positioned and the mount board fits correctly.


Now you need to lace the work to hold all the pieces in place. use a curved needle. It is impossible to do with a straight needle. Use strong buttonhole or upholsterers thread.
Start with a secure double stitch at the top middle and sew from left to right using a herringbone stitch. Start with the first stitch taking the needle from right to left then go to the bottom edge, take a small stitch from right to left. Keep going from top to bottom, bottom to top and you create a lacing effect on the back of the work. Use your left hand to hold the threads in place so you create a good tension.


When sewing the corners together use the curved needle, insert it into the fold of the fabric and then take it across to the other side. Work a couple of stitches and then pull tight bringing the edges together. Work right up to the corner and then work back along the same area.


Start from the middle and work from left to right always, rotate the work in order to achieve this direction at the start of each process.


The embroidery is ready for framing. Its been kept taught and supported by the board, the lacing and the wadding underneath ready for your to admire forever.
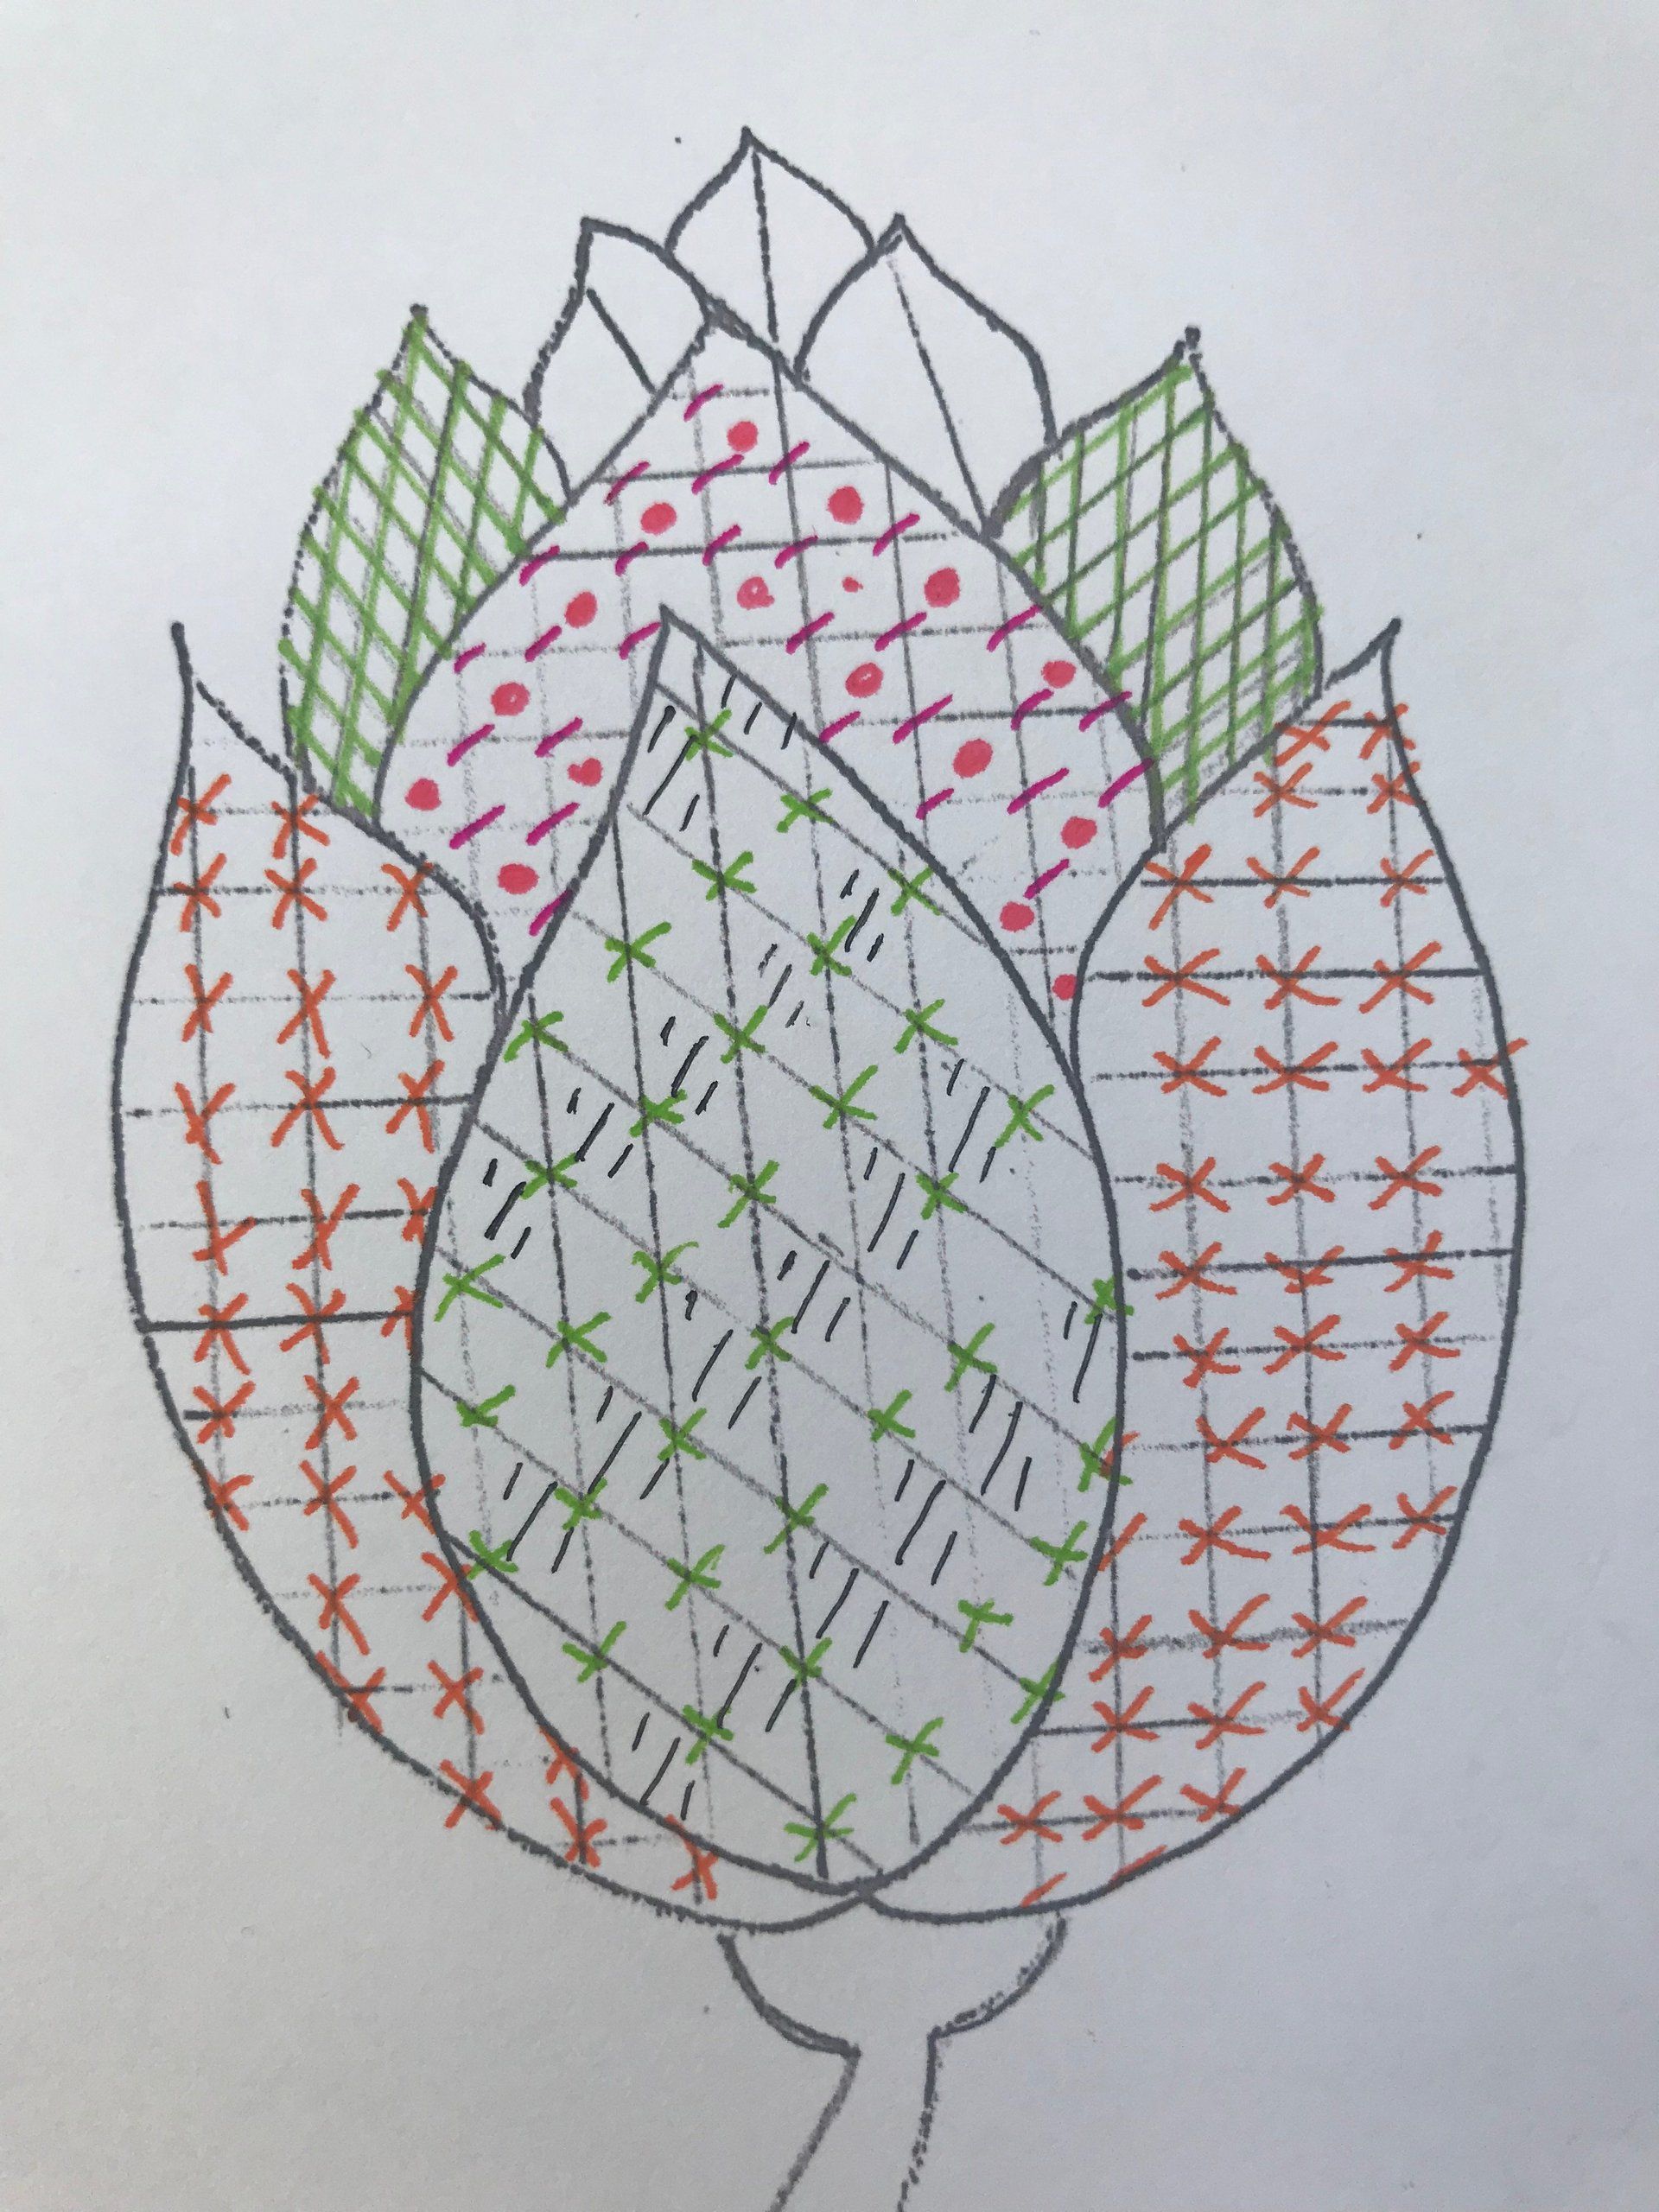
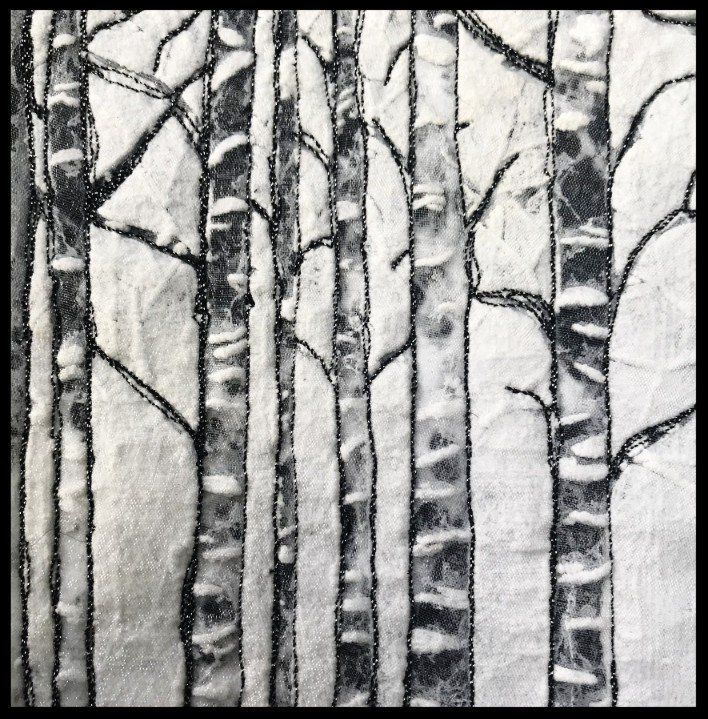
Ideas for hand and machine embroidery