A quick picture of trees that you can make as a present
Using free motion machine embroidery
This piece is created by layering up fabrics and paints and finally machine stitching to create depth and texture.
Materials and Equipment Needed
- Birch tree stencil from Thecraftersworkshop.com
- A silicone mat
- Lutradur 30 fabric
- White puff paint and paintbrush
- Heatgun
- Paintbrush
- Polyester felt
- Tyvek fabric 43g
- Bondaweb
- An flat iron
- Greaseproof paper
- A sewing machine black bobbin fill in the bobbin and Metallic Madeira thread no 40 colour 442 on the top.
- A piece of light grey polyester organza
How to make the stencilled picture for the embroidered piece
Lay the piece of lutradur fabric onto the silicone mat, this is heat resistant and must extend past the lutradur fabric for safety reasons.
Use the birch stencil available from The craftworkers Workshop.co. This is an excellent stencil as it holds together when the lutradur is burned away.
Place the birch stencil over the piece of lutradur, tape in place and carefully paint the puff paint on the exposed areas.
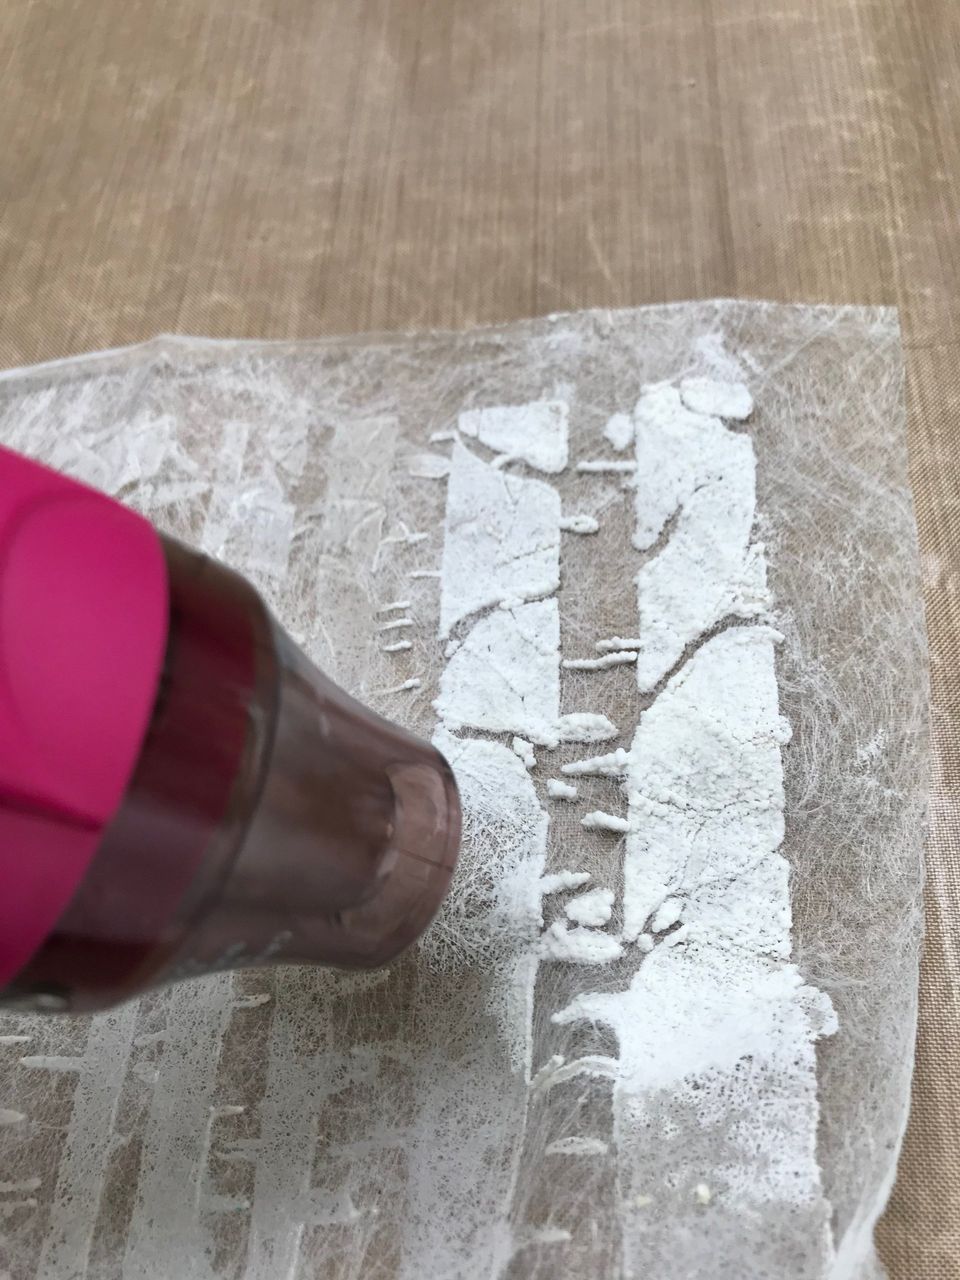
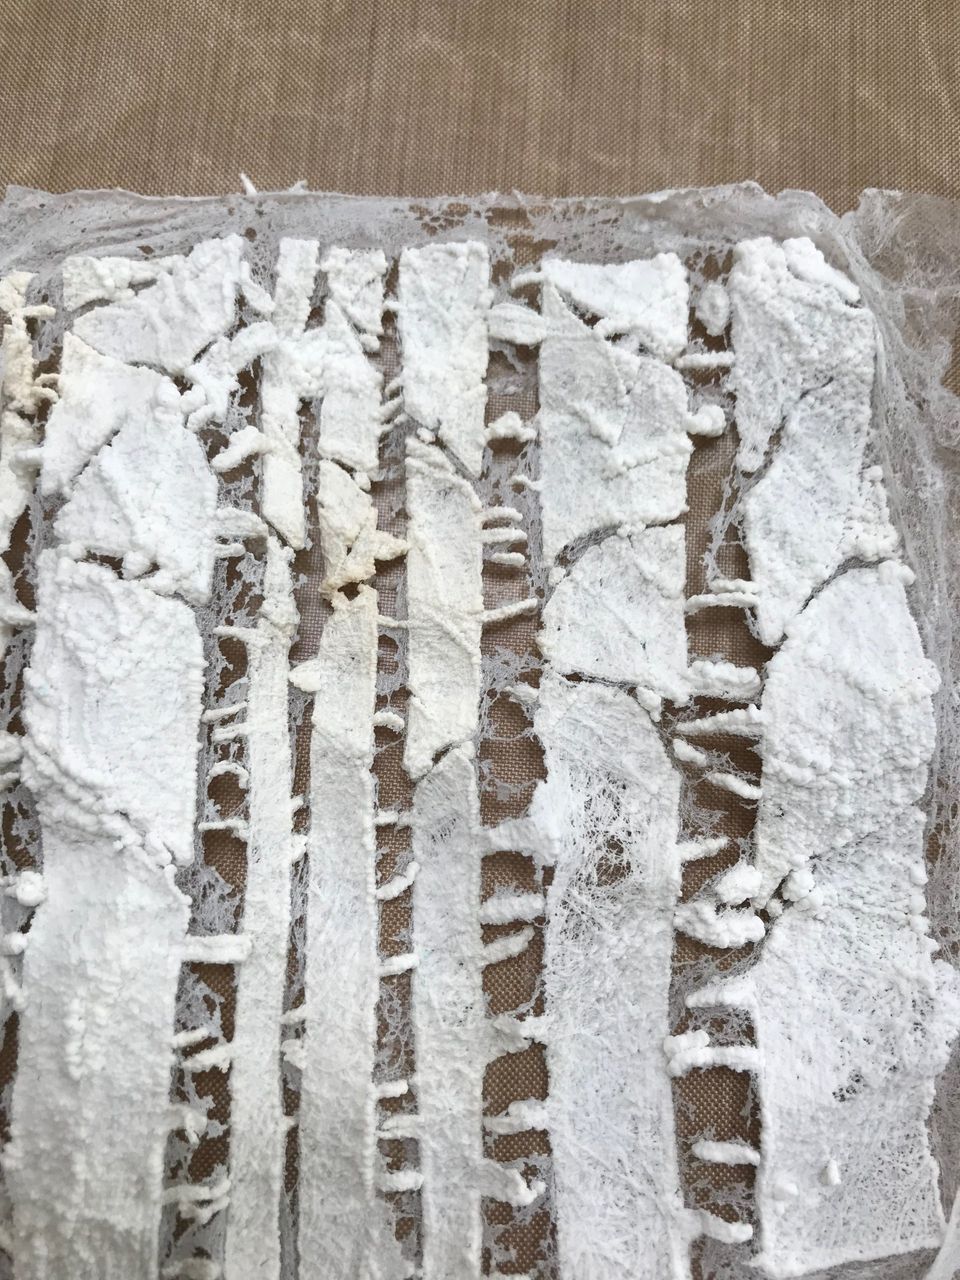
Remove the stencil and wash or wipe clean. Now use the heatgun and start heating the painted areas, the puff paint will start to bubble and create texture and the lutradur will start to shrink...be careful not to over heat otherwise the whole piece will shrink too much. Move in circles with the heatgun so you can control the amount of shrinkage . Always use a silicone mat underneath.
Now create the backing fabric
If you don't feel confident in achieving this a have a little practise first. Its important to have plenty of the black felt showing through.
You need a piece of 43gm tyvek fabric, bondaweb, a piece of black polyester felt and a piece of greaseproof paper.
Place the felt onto a silicone mat then the bondaweb (remove the paper) and finally the tyvek paper suede side up
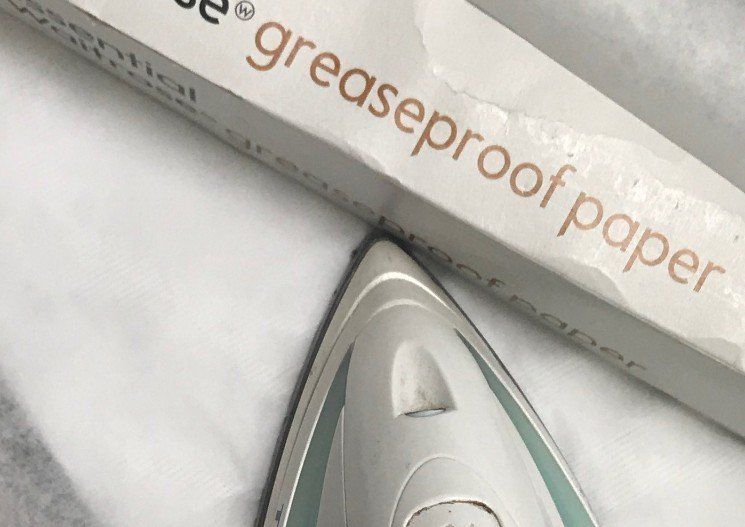
Add a piece of greaseproof paper on top and iron in circular movements. The tyvek fabric will very quickly start to melt. Stop several times and check on the progress of how the new fabric is forming.
Hopefully you will end up with something like above.
Now layer up for the final stage for the machine embroidery
Place the black felt piece at the bottom, then the stencilled piece and finally a piece of light grey organza. Pin or stitch in place.
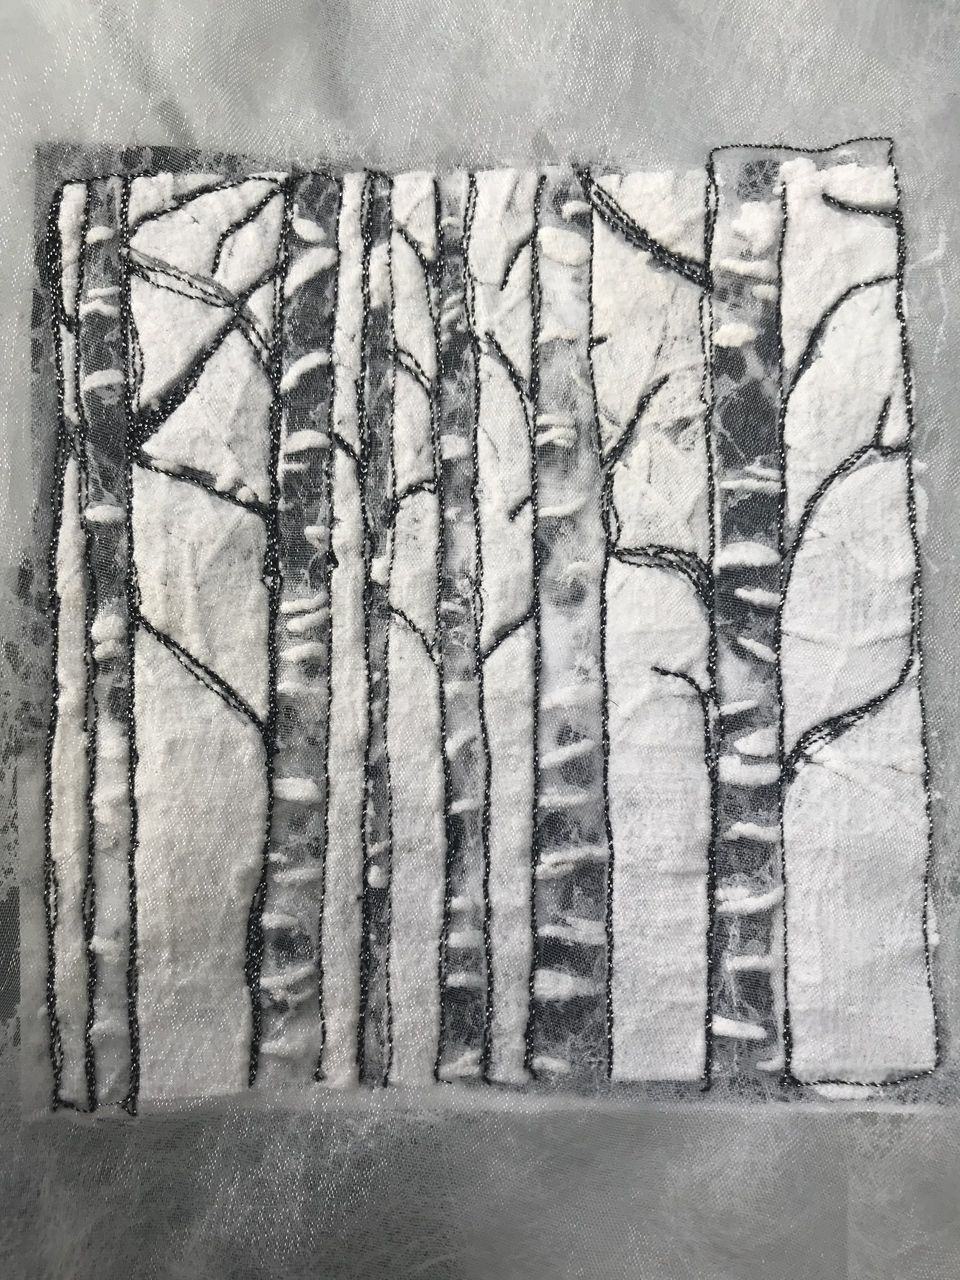
Start stitching using the free motion embroidery technique. Machine around the outer edges of the tree trunks and fill in some of the branches.Black bobbin fill thread underneath and Madeira metallic no 40 colour 442 on the top thread.
Finished piece ready to be mounted or made into a card for a special friend.


